https://create.arduino.cc/projecthub/Guiye_Perez_Bongiovanni/penxzyl-3-0-arduino-brush-plotter-cnc-2f35f3
-----------------------------------------------------------------------------
Components and supplies
_wzec989qrF.jpg?auto=compress%2Cformat&w=140&h=140&fit=fill&bg=ffffff) |
| × | 1 | |||
| × | 1 | ||||
 |
| × | 1 | |||
| × | 1 | ||||
| × | 4 | ||||
| × | 2 | ||||
| × | 1 |
Necessary tools and machines
 |
|
Apps and online services

About this project
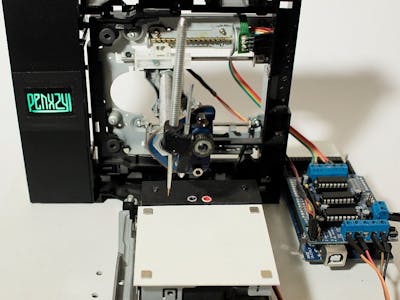
PENXZYL is an artistic-electronic project. It is a plotter that paints in oil. It is an improved version of my previous 2-axis pen plotter: https://vimeo.com/124412245.
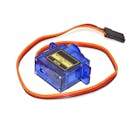
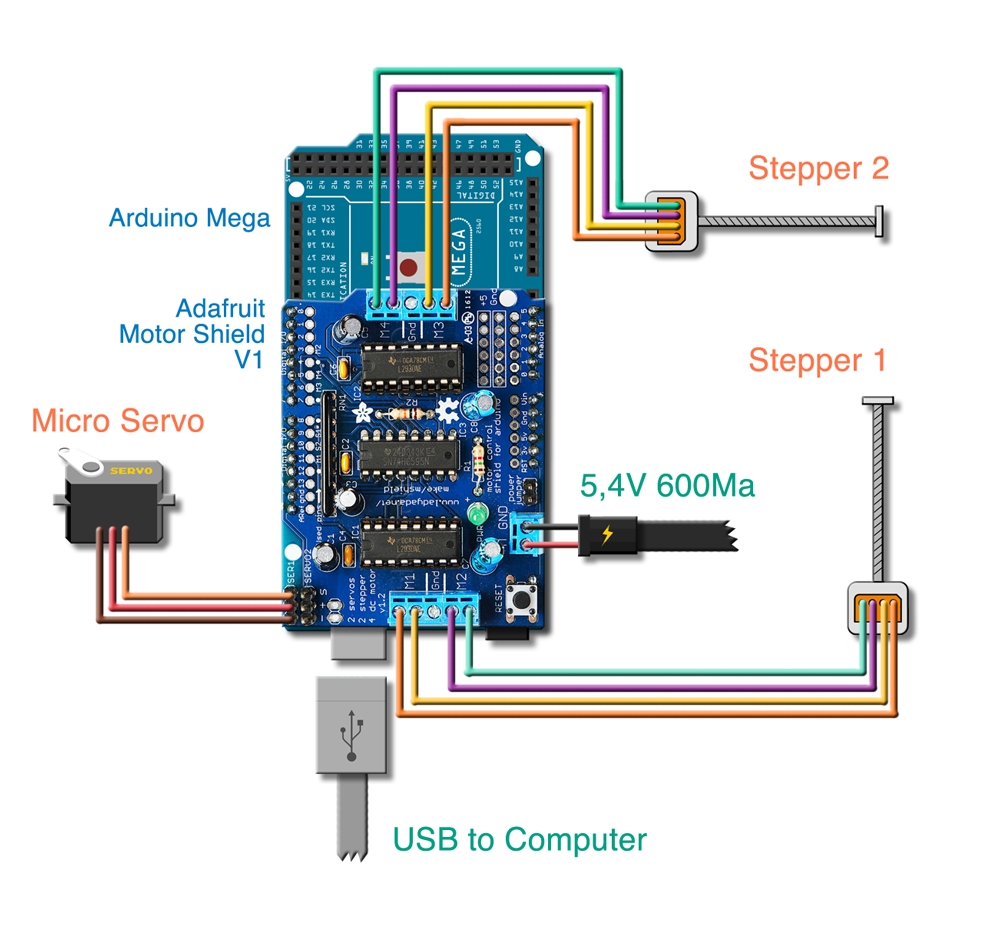
Among other improvements, I added the Z axis and instead of using a fiber, I use a brush and oil containers. It is manufactured with two motors of recycled DVD recorders, a servo, an Arduino Mega 2560, and an Adafruit Motor Shield. From a computer, the drawing data is sent in G-code, which is interpreted by the boards, moving the motors according to the coordinates and generating the drawings.
Code
Schematics
Comments
Author

Guiye Perez Bongiovanni
- 4 projects
- 14 followers
Published on
August 3, 2018Members who respect this project


and 29 others
you might like
Similar projects you might like
Update of the PENXZYL 3.0 project, with a new base and modified head and brush.
PENXZYL 3.1: Arduino Brush Plotter (New and Improved) CNC
Project showcase by Guiye Perez Bongiovanni
- 2,770 views
- 0 comments
- 16 respects
Stringent, the $15 Wall Plotter
Project tutorial by Fredrik Stridsman
- 59,210 views
- 64 comments
- 248 respects
You want to make a machine that could hold a pen and draw you a picture! than this is the best tutorial to guide you making it.
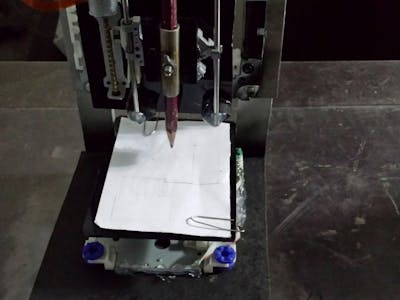
This project shows you how to build a cheap and easy, but very small CNC(Plotter) using Arduino UNO.
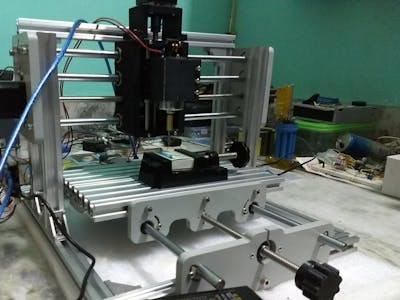
This is 3-axis CNC plotter/engraver based on GRBL software and 2020 aluminum extrusions. Low-cost engraving and PCB manufacturing dual side.
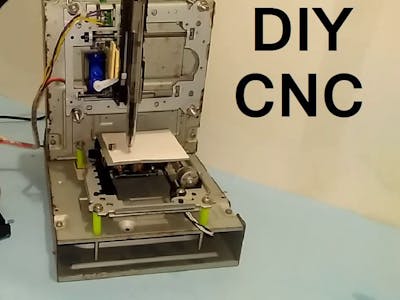
A mini CNC 2D plotter made from old DVD drive and L293D motor shield. Very cheap but interesting. It can draw any image uploaded from PC.
Arduino Based Mini CNC 2D Plotter
Project showcase by Mrinnovative

Please log in or sign up to comment.
delphy
2 years agoDommage que les photos soit floues, à quoi bon les mettre ?
Guiye Perez Bongiovanni
2 years agoSeguramente la compresión del video las destruyó un poco. Acá está con mayor resolución: https://vimeo.com/284936007 o acá https://www.youtube.com/watch?v=OIX7VDrOYw4
Ric
2 years agoGuiye, wow, very creative, very cool!
Guiye Perez Bongiovanni
2 years agoMuchas gracias Ric!
Mat13
2 years agoNice idea and great achievement! I'm impressed by the improvements you got from first tests to last test!
Guiye Perez Bongiovanni
2 years agoThank you very much! I keep calibrating it for better performance and results. Soon I will upload new videos.
Ito59Brasil
8 months agoHello friend, my name is Ailton and I'm from Brazil, your project is very interesting, I was excited to be able to develop one for my children to play with, tell me where you get the drawings, I can make them in CorelDraw or import vectors from the Internet, I would be honored if you could answer me, thanks.
Guiye Perez Bongiovanni
7 months agoHello Ailton, you can make the drawings in Illustrator, in any vectorial program or download them from internet. Once you have them, you have to open and export them from Inkscape (free Linux soft vectorial) which through a plug-in (GCODE) converts the drawing into XYZ coordinates.
Thank you for writing.
Greetings.
luc_vandermeeren
7 months agoI try different possibility but no result every time error in processing # include <servo.h> and no recognise "i"